Aug 13, 2026Product Introductions
Self Myofascial Release with a Massage Ball: Full-Body Techniques for Beginners
Learn how to use a massage ball for myofascial release. Target your neck, shoulders, back, glutes, and feet with these beginner-friendly techniques.
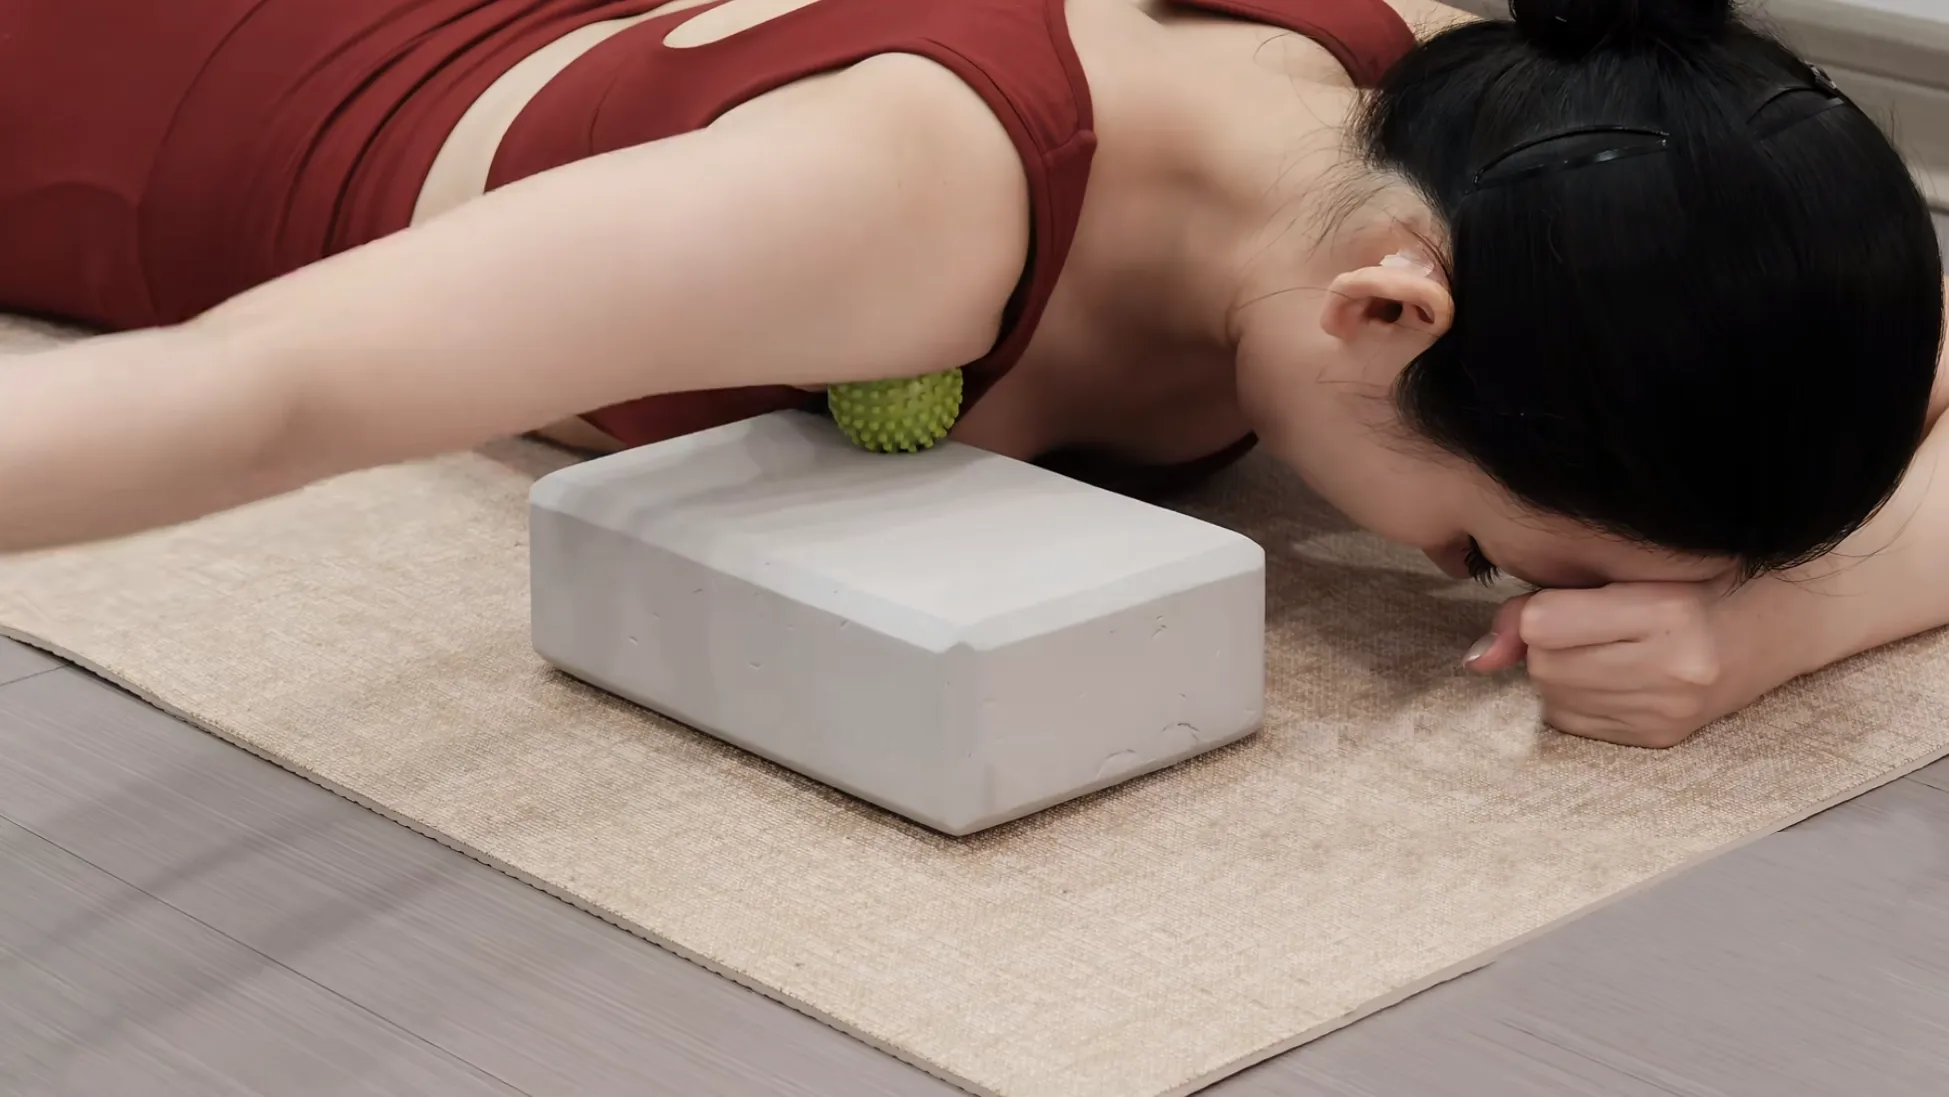
If you've ever woken up with a stiff neck, tight shoulders, or hips that feel locked in place, your fascia is probably the culprit. Fascia is the thin layer of connective tissue that wraps around every muscle, bone, and organ in your body. When it's healthy, it slides and moves freely. When it's tight — from stress, sitting too long, or overtraining — it creates knots, restricts movement, and refers pain to places you'd never expect. Myofascial release is the practice of applying sustained pressure to these tight spots to restore movement and reduce pain. And while foam rollers get most of the attention, a massage ball is often the better tool for the job. It's smaller, more precise, and can reach areas a roller simply can't. This guide covers everything you need to know about self myofascial release with a massage ball — including exactly where to roll, how much pressure to use, and what to expect.
What Is Myofascial Release?
Myofascial release is a manual therapy technique that targets the fascia — the web-like connective tissue surrounding your muscles. When fascia becomes tight or develops adhesions (often called "trigger points"), it restricts blood flow, limits range of motion, and causes referred pain. The goal of myofascial release isn't to "break up" tissue. That's a myth. The pressure actually stimulates your nervous system, which signals the surrounding muscles to relax and the fascia to return to its normal, fluid state. You can do this yourself at home with a small, firm massage ball. You don't need a physical therapist — just the right technique and a little patience.
Massage Ball vs. Foam Roller: Which Should You Use?
Both tools work, but they serve different purposes. Table
Feature | Foam Roller | Massage Ball |
|---|---|---|
Surface area | Large, broad pressure | Small, pinpoint pressure |
Best for | Quads, IT band, upper back | Neck, shoulders, glutes, feet, hips |
Precision | Low — rolls over everything | High — targets specific knots |
Portability | Bulky | Fits in a gym bag or pocket |
Intensity control | Moderate | Easy to adjust by shifting body weight |
The bottom line: Use a foam roller for large muscle groups. Use a massage ball for precise, stubborn knots — especially around the shoulders, glutes, and feet.
Related: If you're dealing with pelvic floor tension specifically, check out our pelvic floor massage ball exercises for a targeted routine.
What Type of Massage Ball Do You Need?
Not all balls are created equal. For self myofascial release, look for:
- Size: 2.5 to 3.5 inches in diameter. Smaller for feet and hands, medium for glutes and shoulders.
- Firmness: Firm rubber or silicone. Tennis balls are too soft for most adults.
- Surface: Smooth for beginners, textured or spiked for deeper stimulation.
- Material: High-density rubber, silicone, or cork. Avoid cheap plastic that cracks under pressure.
Our pick: The myofascial release massage balls in our collection are sized and weighted specifically for deep tissue self-treatment.
Technique 1: Neck and Upper Trapezius Release
Best for: Desk workers, people who hold stress in their neck, headache sufferers. How to do it:
- Stand with your back against a wall.
- Place the massage ball between your upper back and the wall, just to the side of your spine at shoulder-blade height.
- Gently bend and straighten your knees to roll the ball up and down along the edge of your shoulder blade.
- When you find a tender spot, stop moving and lean into the wall. Hold for 30–45 seconds.
- Breathe slowly. The pressure should feel intense but manageable — never sharp or electric.
Why it works: The upper trapezius and levator scapulae muscles carry most of your daily stress. Releasing them here often reduces tension headaches and improves shoulder mobility immediately.
Technique 2: Shoulder and Rotator Cuff Release
Best for: Swimmers, climbers, anyone with rounded shoulders from sitting. How to do it:
- Lie on your back with knees bent.
- Place the massage ball under your right shoulder, targeting the area just below the bony ridge (the infraspinatus muscle).
- Reach your right arm overhead, then slowly lower it back to your side. Repeat this arm movement 8–10 times.
- The ball stays in one place while your arm moves. This creates a pin-and-release effect on the rotator cuff.
- Switch sides.
Why it works: Your rotator cuff muscles are deep and hard to stretch. The pin-and-release method allows the ball to hold pressure while your movement creates a shearing effect that breaks up fascial adhesions.
Technique 3: Thoracic Spine (Mid-Back) Release
Best for: People with a stiff mid-back, shallow breathing, or poor posture. How to do it:
- Lie on your back with knees bent and feet flat.
- Place the massage ball on either side of your spine at mid-back level — never directly on the spine.
- Cross your arms over your chest like you're hugging yourself.
- Gently arch your back over the ball, then relax. Repeat 10 times.
- Move the ball up one vertebra and repeat. Work your way from mid-back to upper-back.
Why it works: The thoracic spine gets locked in a forward-flexed position from hours of sitting. This extension-and-release technique restores mobility and makes deep diaphragm breathing easier.
Technique 4: Glute and Piriformis Release
Best for: Runners, cyclists, people with sciatica-like symptomsHow to do it:
- Sit on the floor with your knees bent.
- Place the massage ball under your right glute, slightly toward the outer hip.
- Cross your right ankle over your left knee.
- Lean slightly to the right and roll in small circles. Pause on tight spots for 30 seconds.
- Switch sides. Spend 2 minutes per side.
Why it works: The piriformis muscle sits directly on top of the sciatic nerve. When it's tight, it compresses the nerve and creates pain that shoots down the leg. Releasing the piriformis often provides immediate relief.
Technique 5: Calf and Soleus Release
Best for: Runners, high-heel wearers, people with plantar fasciitis. How to do it:
- Sit on the floor with your legs extended.
- Place the massage ball under your right calf, starting just below the knee.
- Use your hands to lift your hips slightly and roll the ball down toward your ankle.
- Stop every inch and hold for 15–20 seconds on tender areas.
- Rotate your leg inward and outward to hit different angles of the calf muscle.
- Switch legs.
Why it works: Tight calves pull on the Achilles tendon and the plantar fascia. Releasing them here often reduces foot pain and improves ankle flexibility more effectively than stretching alone.
Technique 6: Plantar Fascia (Foot) Release
Best for: People with plantar fasciitis, flat feet, or who stand all day. How to do it:
- Stand near a wall or chair for balance.
- Place the massage ball under the arch of your bare right foot.
- Apply as much body weight as feels comfortable.
- Roll from the heel to the ball of the foot in slow, straight lines.
- When you find a tender spot, hold for 30 seconds while gently flexing and pointing your toes.
- Switch feet. Spend 90 seconds per foot.
Why it works: The plantar fascia connects to your calf, hamstring, and lower back through a continuous line of fascia. Releasing the foot often creates a ripple effect of relaxation up the entire back of your body.
How Much Pressure Is Too Much?
Myofascial release should feel like a "good hurt" — intense but tolerable. If you're holding your breath, tensing other muscles, or feeling sharp or electric pain, you're pressing too hard. Use this scale: Table
Sensation | What It Means | Action |
|---|---|---|
Dull, spreading ache | Fascia releasing | Stay and breathe |
Sharp, stabbing pain | Nerve or bone | Move the ball |
Numbness or tingling | Nerve compression | Stop immediately |
Muscle shaking | Deep release happening | Reduce pressure slightly |
The golden rule: You should be able to breathe normally throughout the entire session. If you can't, back off.
How Often Should You Do Self Myofascial Release?
Table
Goal | Frequency | Duration |
|---|---|---|
General maintenance | 2–3x per week | 10–15 minutes |
Recovery from intense training | Daily | 10 minutes |
Chronic tension or pain | Daily | 15–20 minutes |
Pre-workout warm-up | Before every session | 5 minutes |
Important: Myofascial release is not a replacement for stretching or strength training. It works best as part of a complete routine. Release first, then stretch, then strengthen.
Common Mistakes Beginners Make
Rolling too fast. Fascia needs sustained pressure to respond. Quick rolling feels good but doesn't create lasting change. Aim for 30–60 seconds per spot. Staying in one place too long. More than 90 seconds on a single spot can cause bruising or increased inflammation. Move on if nothing changes after a minute. Ignoring your breath. Holding your breath tells your nervous system that you're in danger, which makes muscles tighten — the opposite of what you want. Using the wrong ball. A tennis ball is too soft for most adults. A golf ball is too small and hard for large muscles. A lacrosse ball or dedicated massage ball is the sweet spot.
When to Skip Self Myofascial Release
Avoid massage ball work if you have:
- Acute injuries, open wounds, or bruising in the area
- Severe osteoporosis or bone density issues
- Blood clotting disorders or are on blood thinners
- Nerve conditions causing loss of sensation
- Pregnancy (for abdominal and lower back work — consult your doctor first)
Build Your Routine: A 15-Minute Full-Body Sequence
If you only have 15 minutes, do this: Table
Area | Technique | Time |
|---|---|---|
Feet | Plantar fascia release | 3 minutes |
Calves | Calf and soleus release | 3 minutes |
Glutes | Piriformis release | 3 minutes |
Upper back | Thoracic spine release | 3 minutes |
Neck | Upper trapezius against wall | 3 minutes |
Do this 3x per week and track how your body feels after 2 weeks. Most people notice better sleep, less morning stiffness, and improved posture within the first month.
Ready to Start?
Self myofascial release is one of the most cost-effective ways to improve how your body feels and moves. You don't need a gym membership, an appointment, or expensive gear — just a small ball and 10 minutes.
Get the right tool: Our myofascial release massage balls are designed for exactly this kind of deep tissue work — firm enough to release stubborn knots, small enough to target hard-to-reach areas.
Pair it with pelvic floor work: For a lower-body focused routine, try our pelvic floor massage ball exercises next.